


The Incredible Story Behind the Famous Photo of a RAF Bomber Hit by Bombs and How They Survived
Wingleader Films / YouTube
A Photo with a Hidden Story
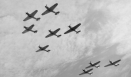
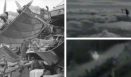
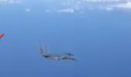
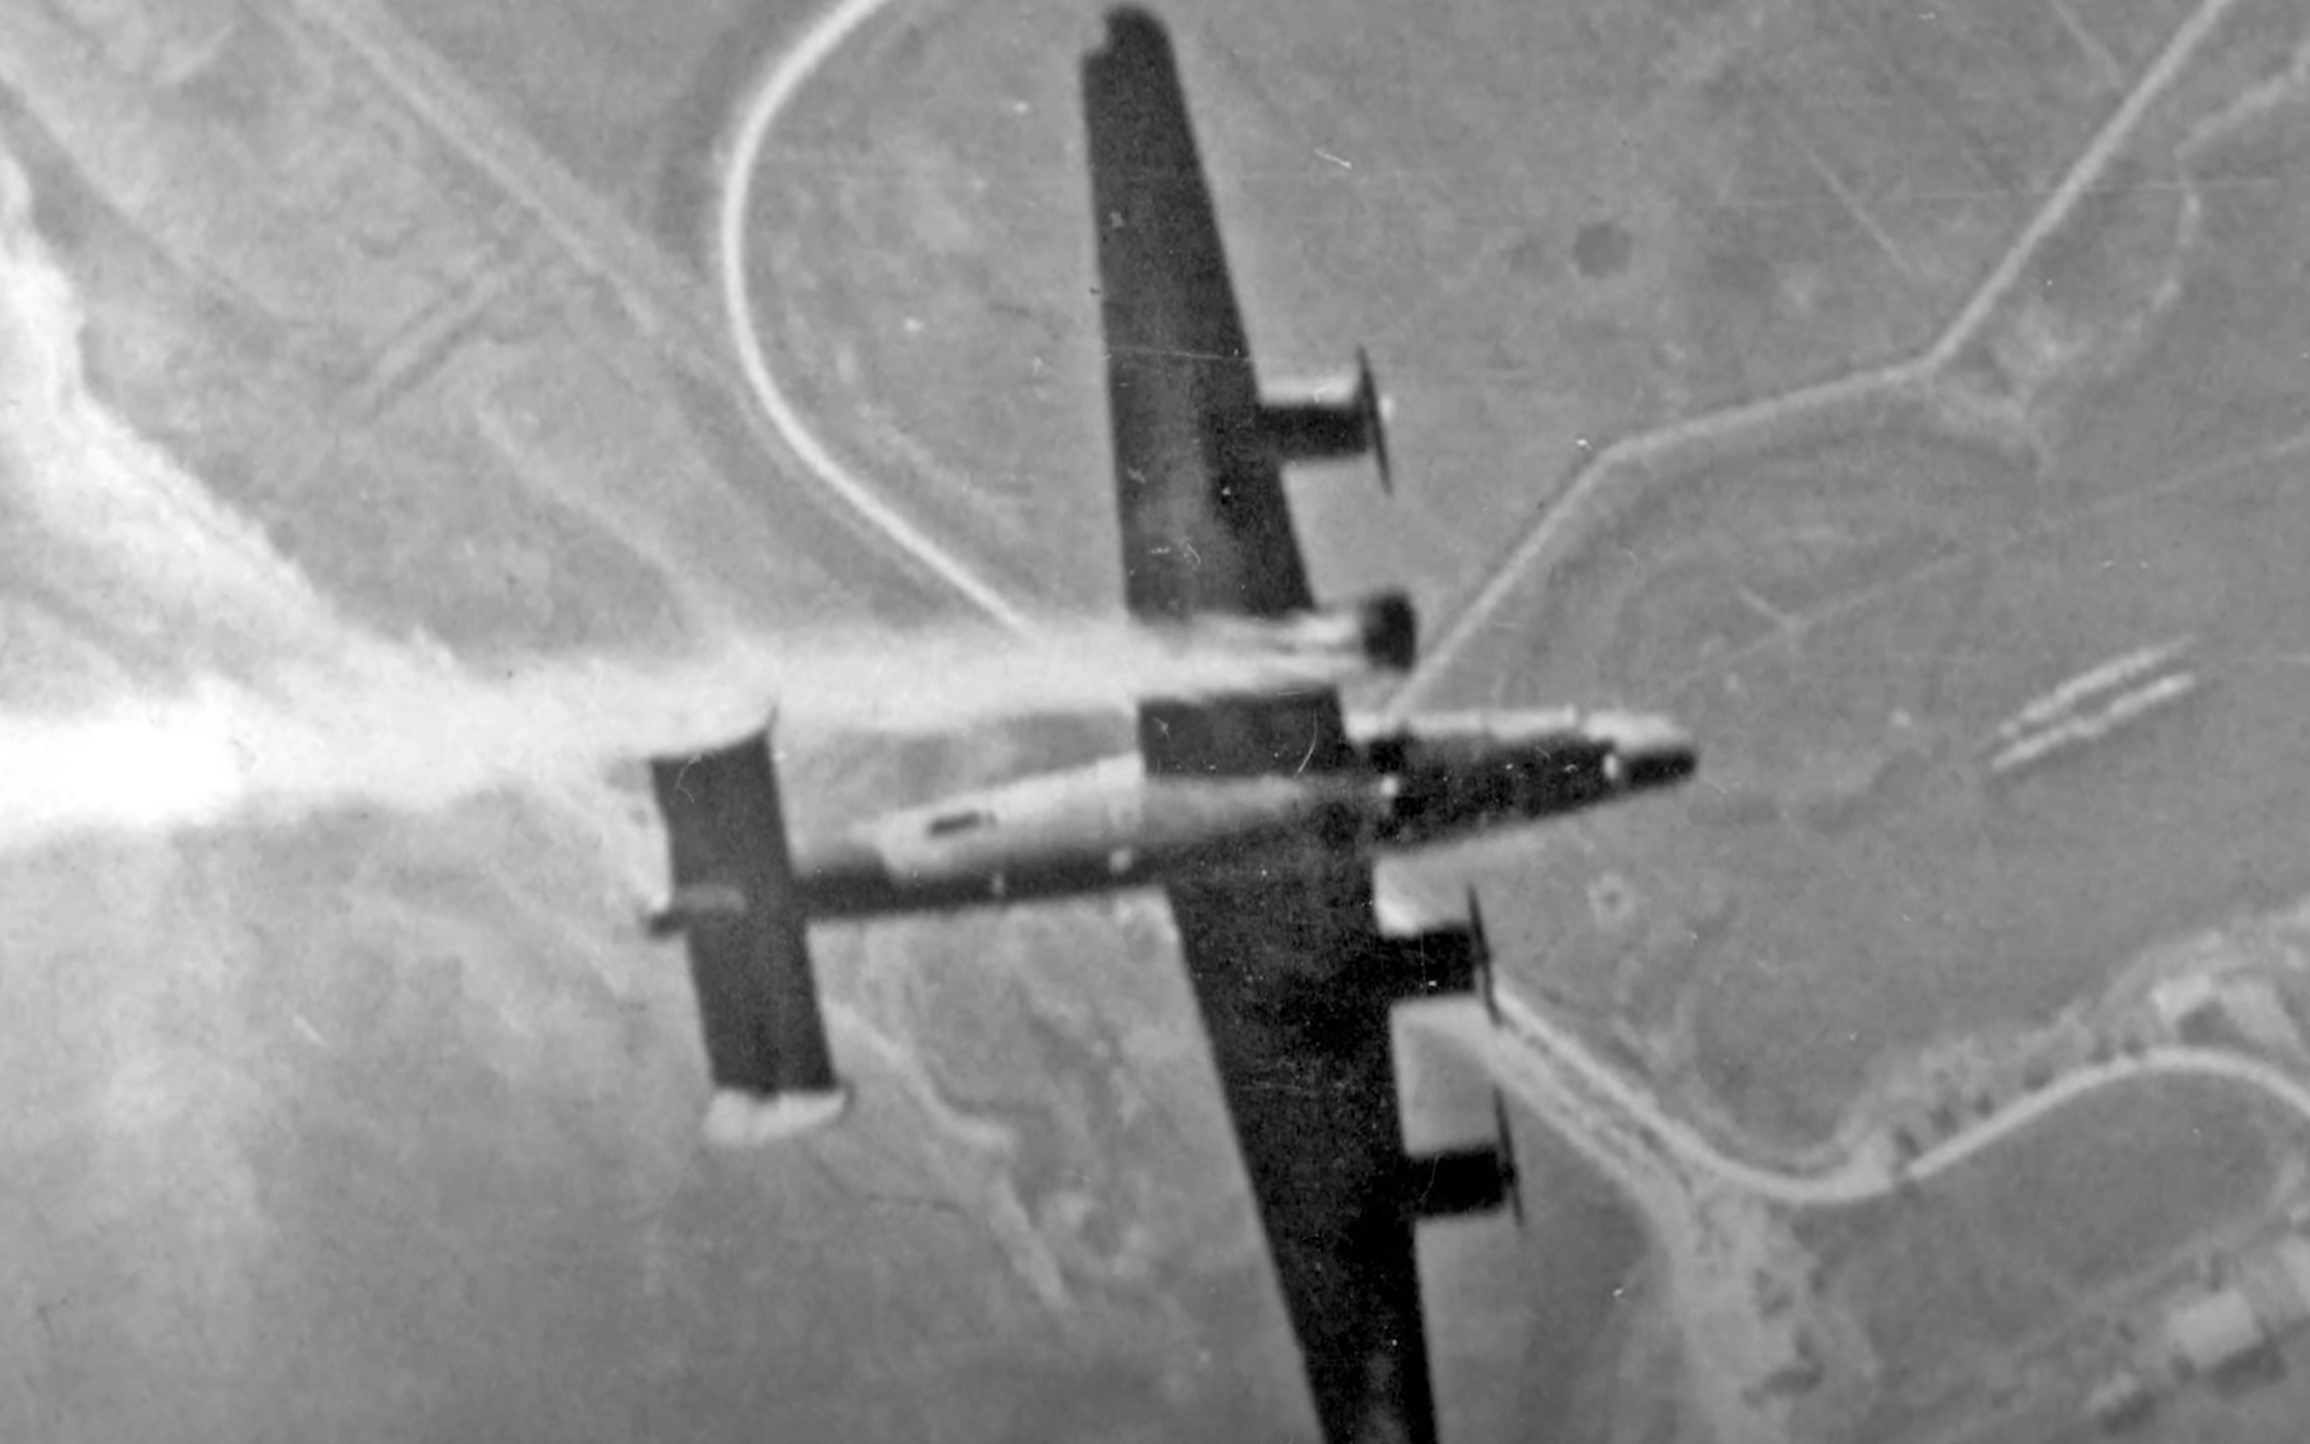
One of the most striking images from World War II shows a Royal Air Force Liberator bomber flying just beneath a falling group of bombs. Moments later, another photo captures the same aircraft smoking, damaged, and fighting to stay airborne. The dramatic sequence led many to wonder: what happened to the crew? Did anyone survive such a direct and dangerous hit?
A small team of historians from Wing Leader set out to uncover the full story. The plane’s markings pointed to the Royal Air Force. The roundels on the wings and the shape of the fuselage identified it as a Liberator used in the Mediterranean. Other clues suggested it was from 1945, a late version with its nose turret removed to reduce weight since fighter threats had decreased.

Tracking the Aircraft and Confirming the Details
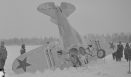
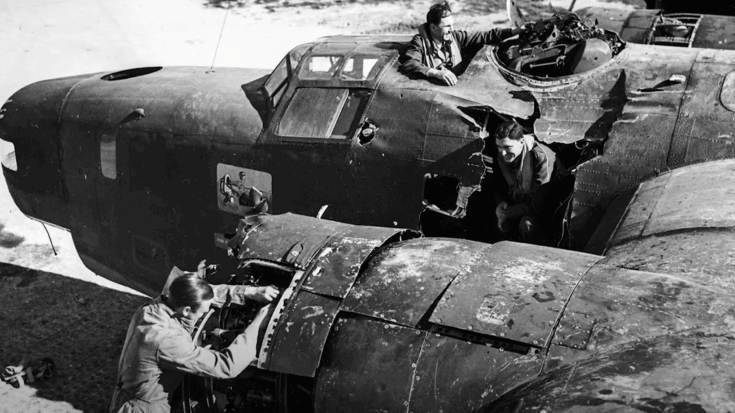
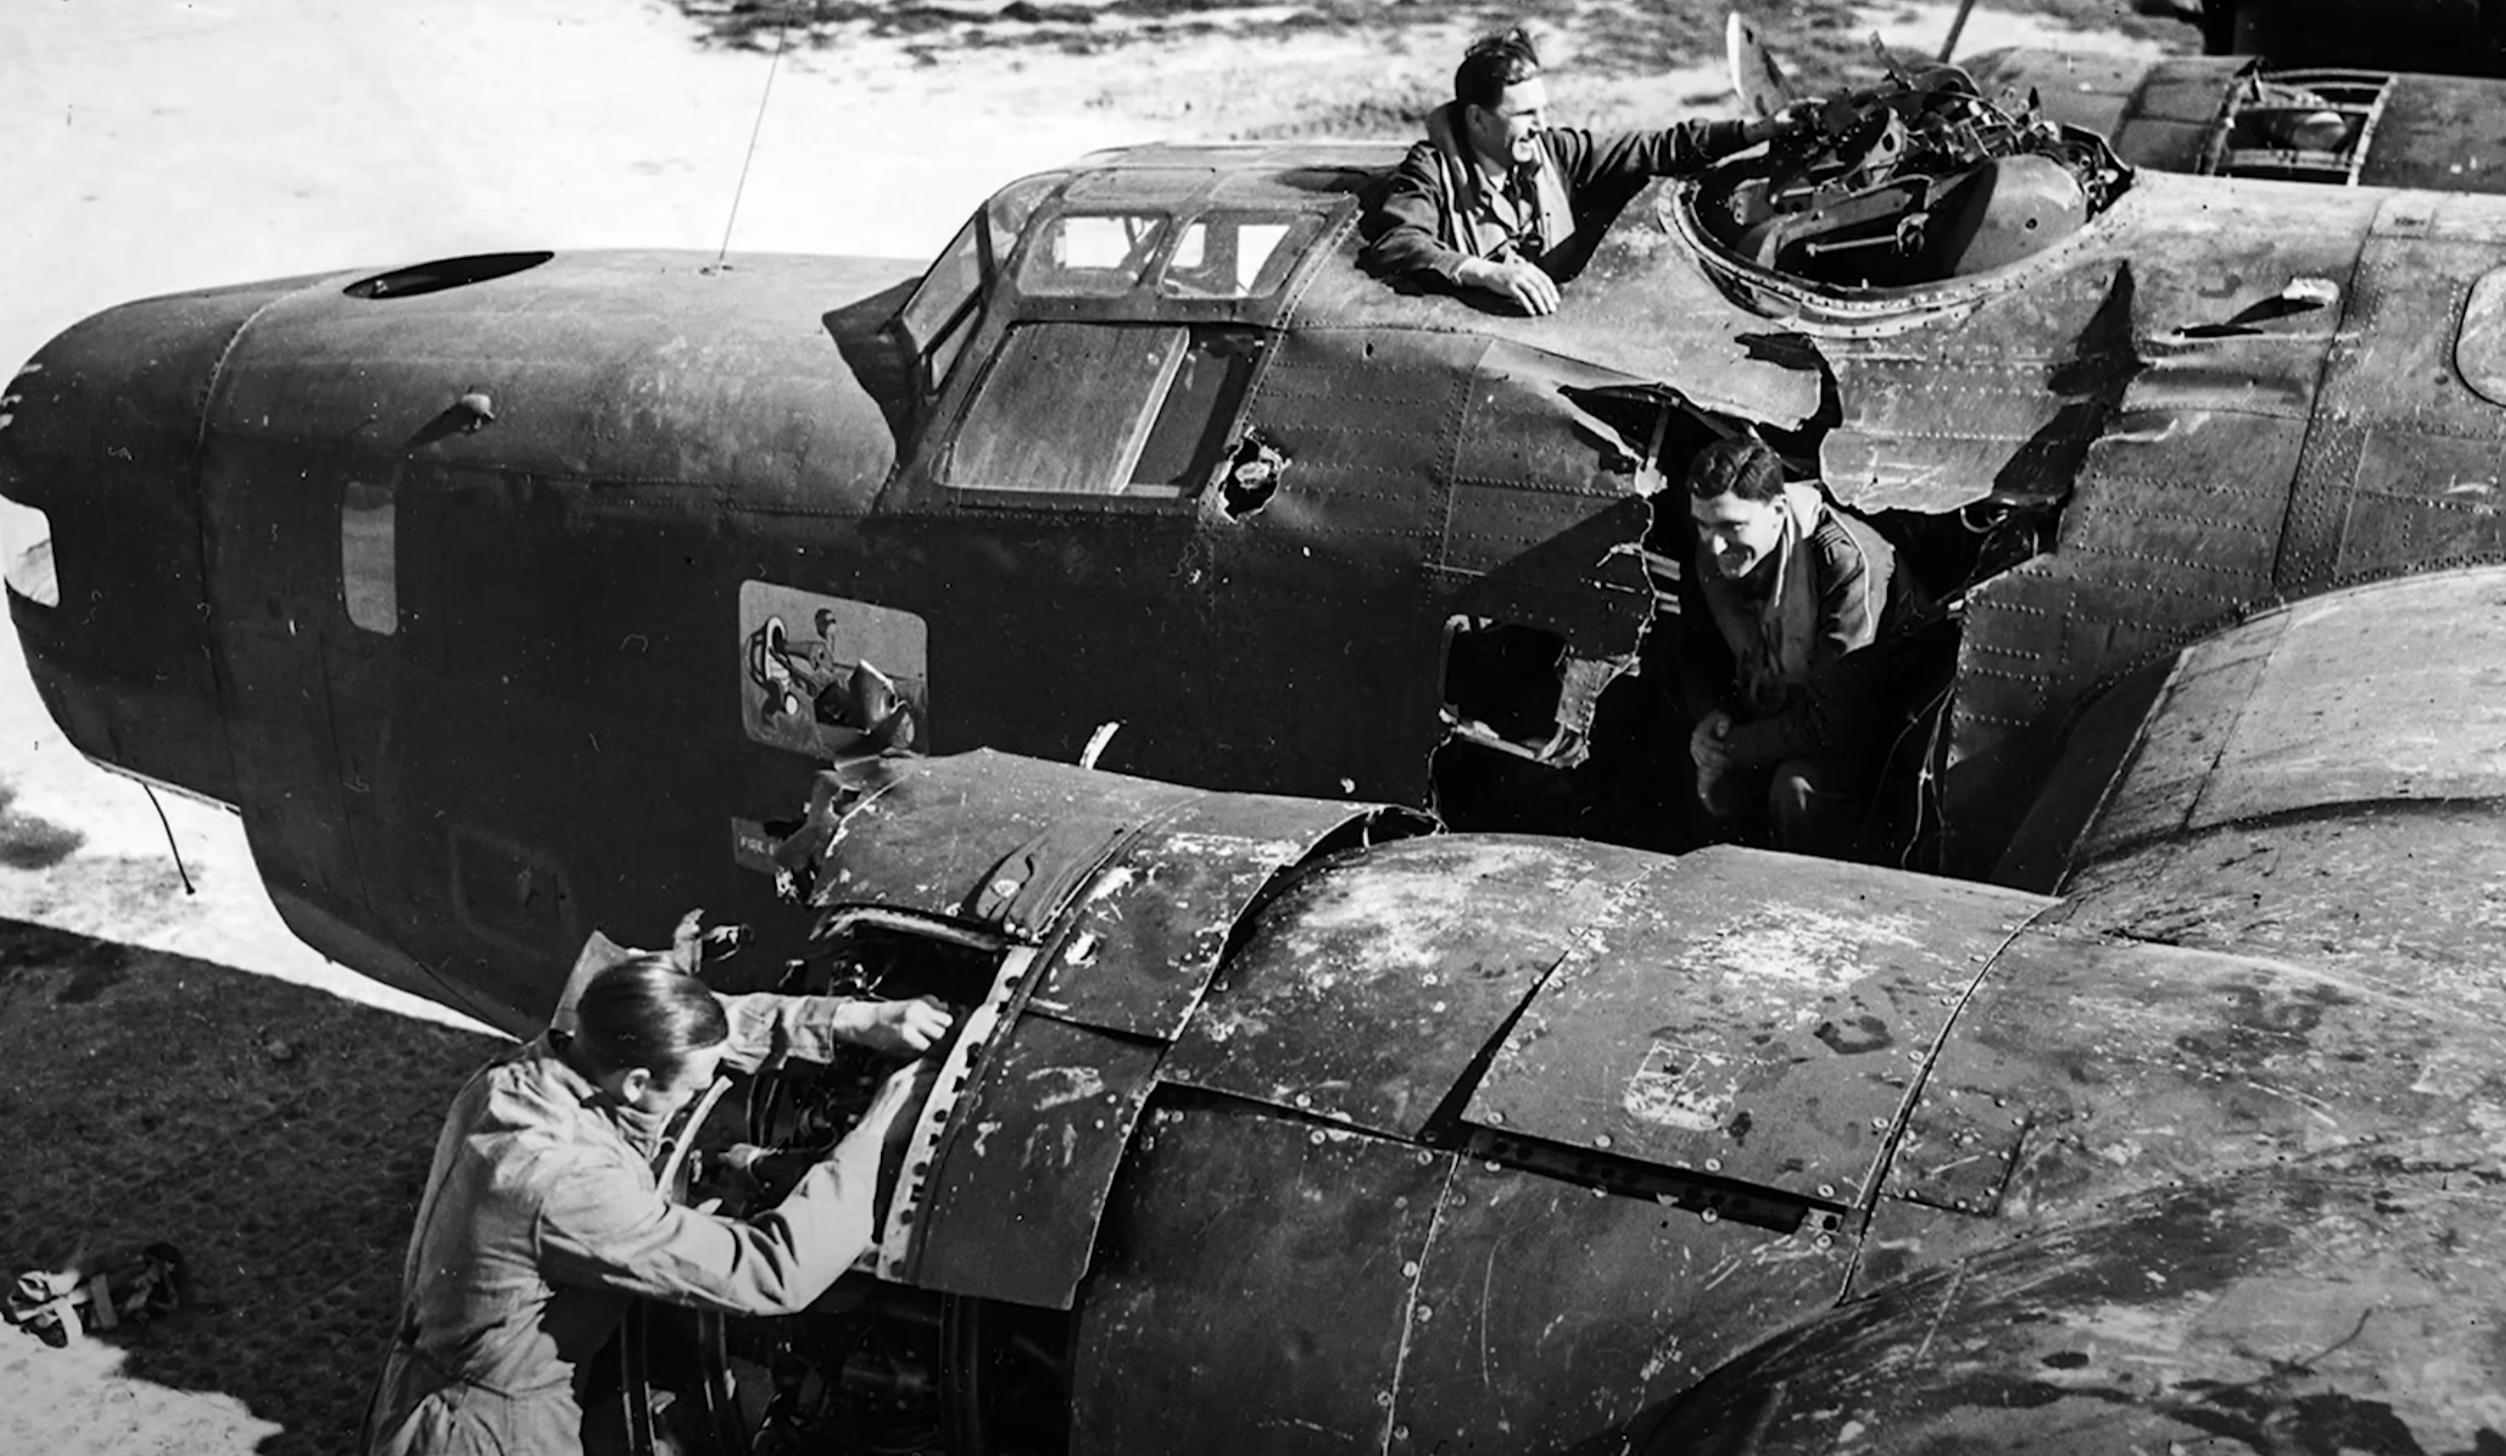
Records revealed that only a few RAF squadrons used Liberators in Italy in early 1945. A photograph in the 37 Squadron archive showed a damaged aircraft matching the one in the air photo, identified as Liberator KK320. It had returned from a mission over the Monfalcone docks on March 16, 1945, the same date as the attack in the photo.
After comparing historical photos of the Monfalcone port with the image of the bombing, and matching damage like a missing engine propeller and a hole near the mid-upper gun turret, the team confirmed the aircraft was indeed KK320. The next step was to piece together what the crew experienced on that mission.
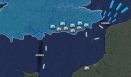
The Mission Over Monfalcone
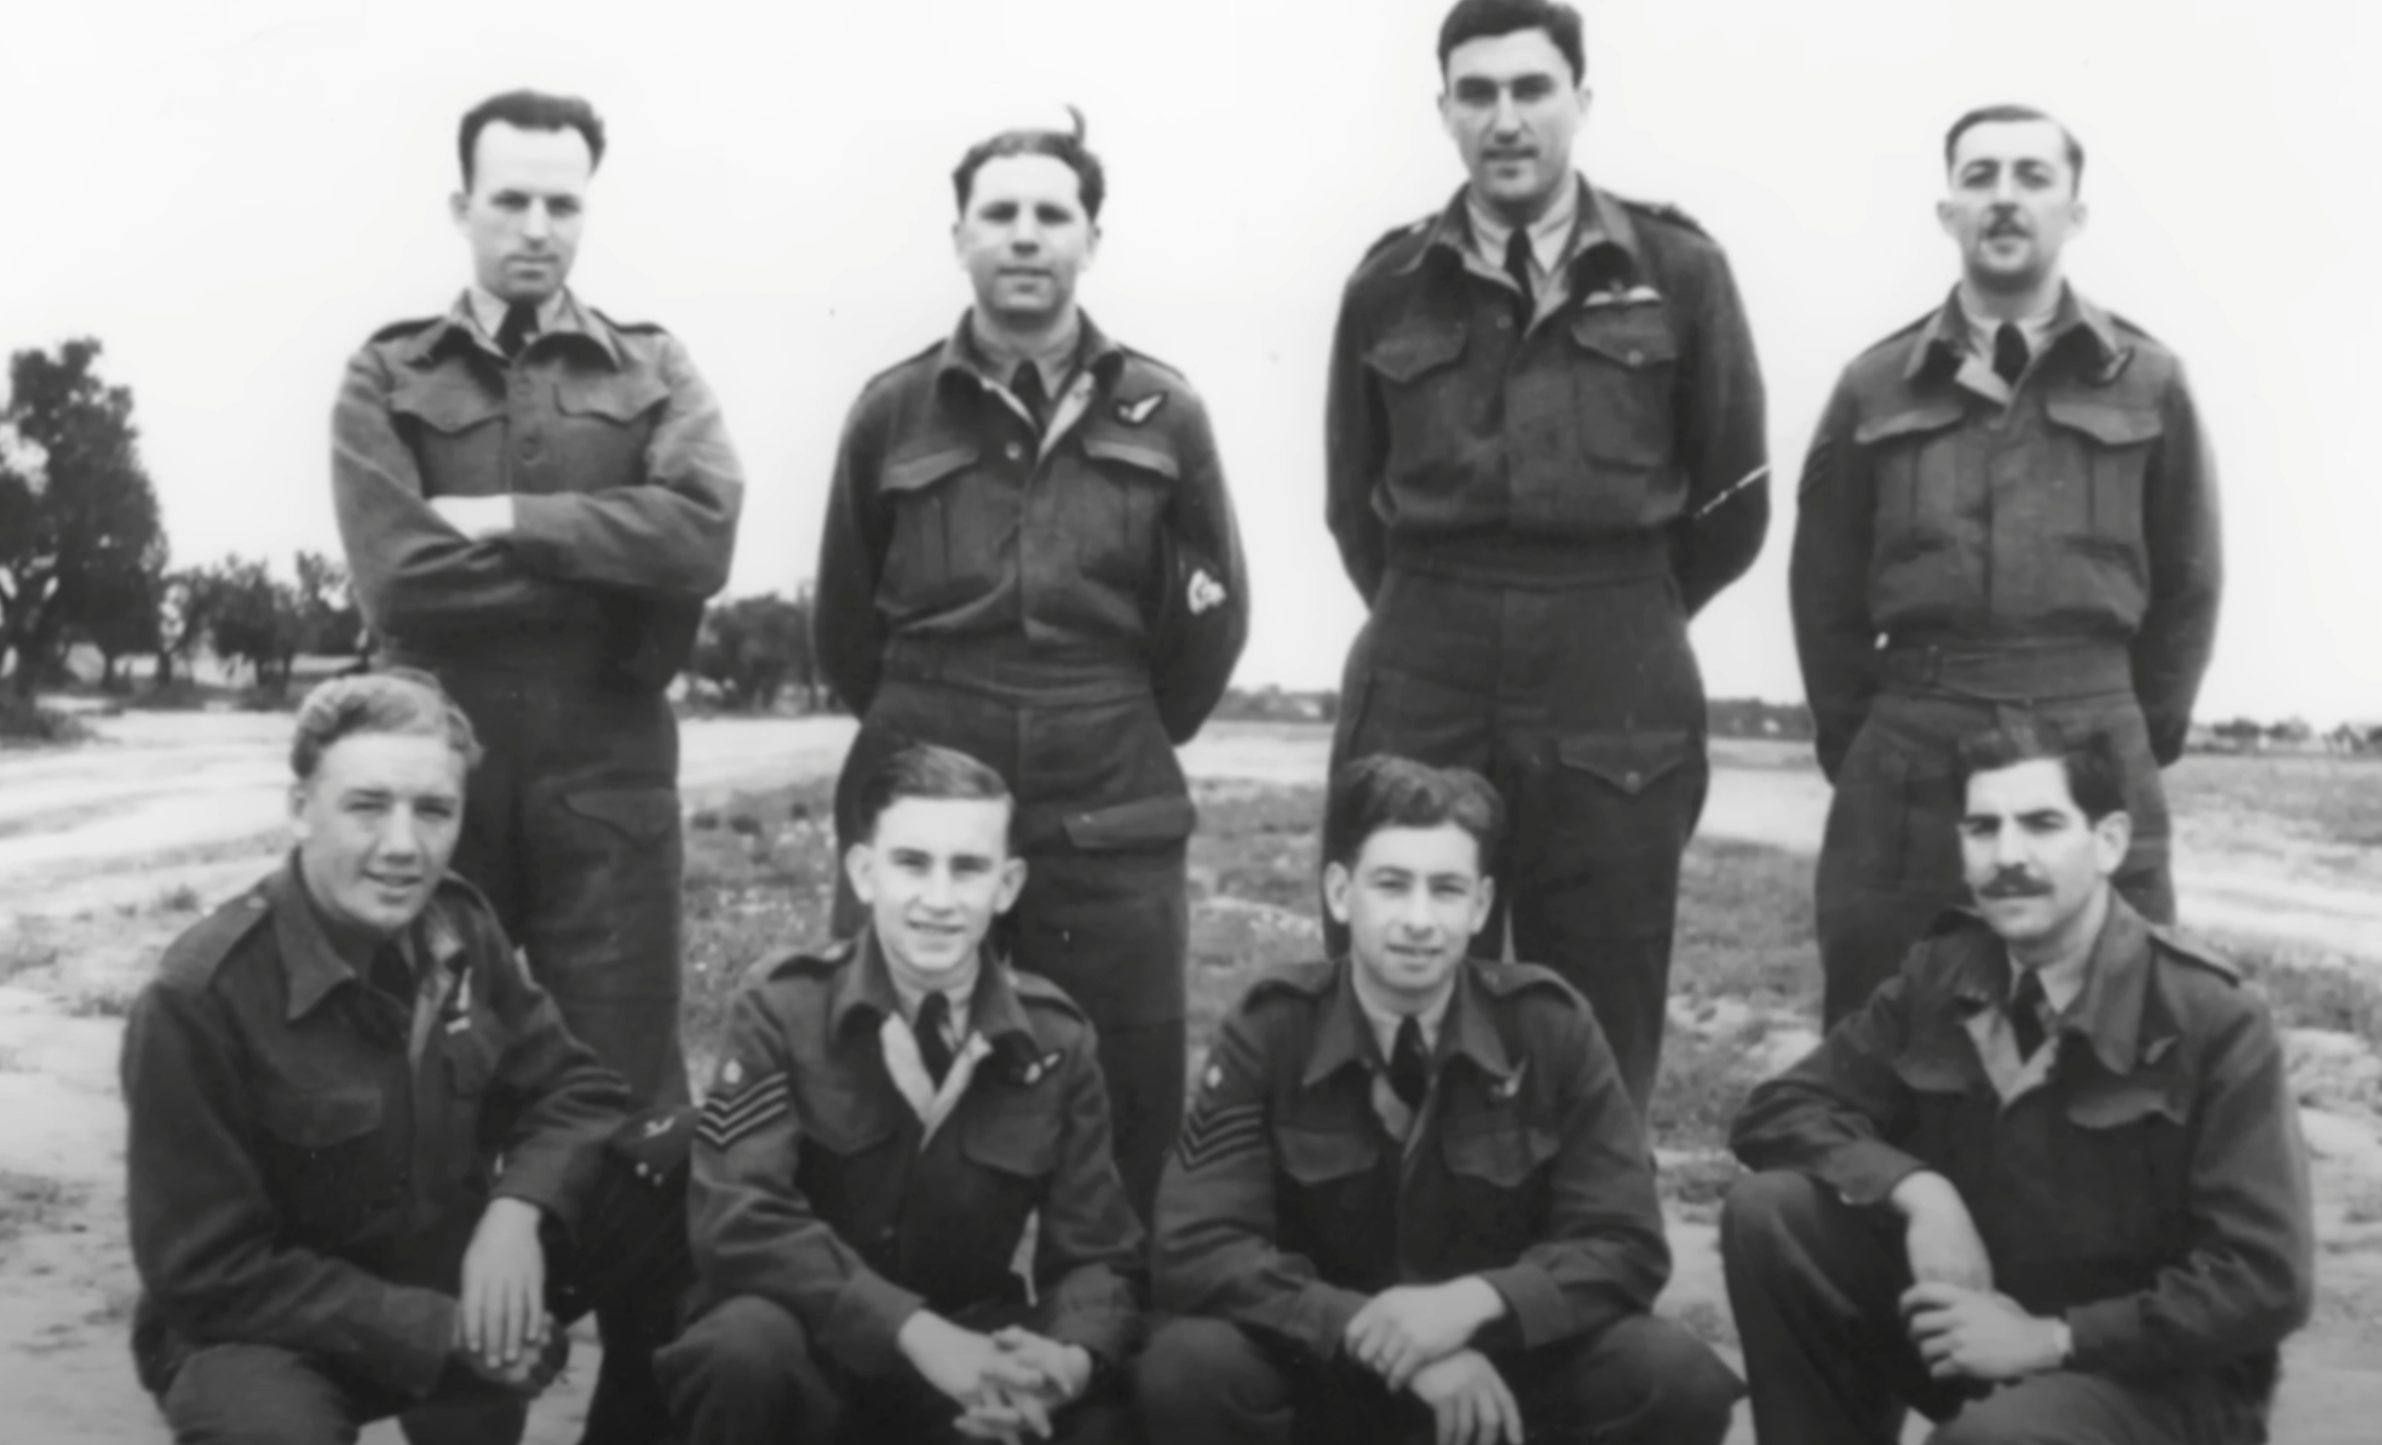
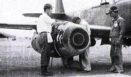
Liberator KK320 was part of a bombing raid on shipyards at Monfalcone, located 40 miles east of Venice. The aircraft carried six 1,000-pound and six 500-pound bombs and took off from Tortorella in southern Italy. Squadron Leader Lionel Saxby led the crew, who expected a routine mission.
As bomb aimer George Barker prepared to release their payload, mid-upper gunner Wally Lewis looked up and saw bombs falling from another aircraft above. One of them struck the Liberator near the flight deck. Lewis recalled the sound and impact as the Perspex cover above him blew away. Wireless operator Cliff Hurst was thrown forward and hit by shrapnel. Despite his injuries, he managed to repair the radio and send key messages. He later received the Distinguished Flying Medal.
Survival Against All Odds
Squadron Leader Saxby narrowly missed being hit by the propeller, which was torn from the port inner engine and crashed through the fuselage behind him. The damage caused the aircraft to shake violently. The crew prepared to bail out, but Saxby managed to slow the plane, reducing the shaking.
The flight back took two and a half hours through freezing wind blowing through the damaged fuselage. Despite all odds, KK320 landed safely after being in the air for nearly five hours.
Three Reasons the Crew Survived
Their survival came down to three key factors. First, the falling bombs had not exploded. Aerial bombs were designed to remain stable until a fuse was activated mid-air. This safety feature saved the aircraft when the bombs struck but did not detonate.
Second, the detached propeller hit just behind the cockpit, narrowly missing critical controls and the pilot. Had it struck a few feet forward, it would have ended the mission instantly.
Third, the bombs struck areas that avoided the most vulnerable parts of the plane. A hit to the fuel tanks or cockpit could have caused a fire or uncontrollable damage. The aircraft took damage near the engine and behind the pilot, allowing just enough control to return home.
Against incredible odds, the entire crew survived and lived to share their account of that day.