


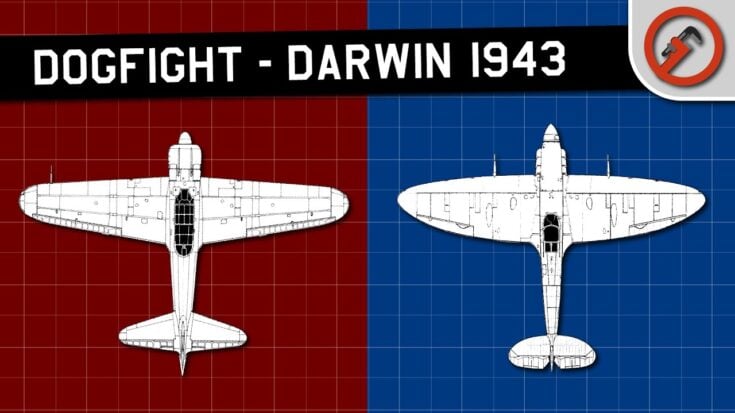
Spitfire vs Zero: Who Comes Out On Top?
YouTube / Red Wrench Films
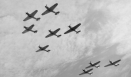
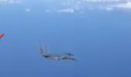
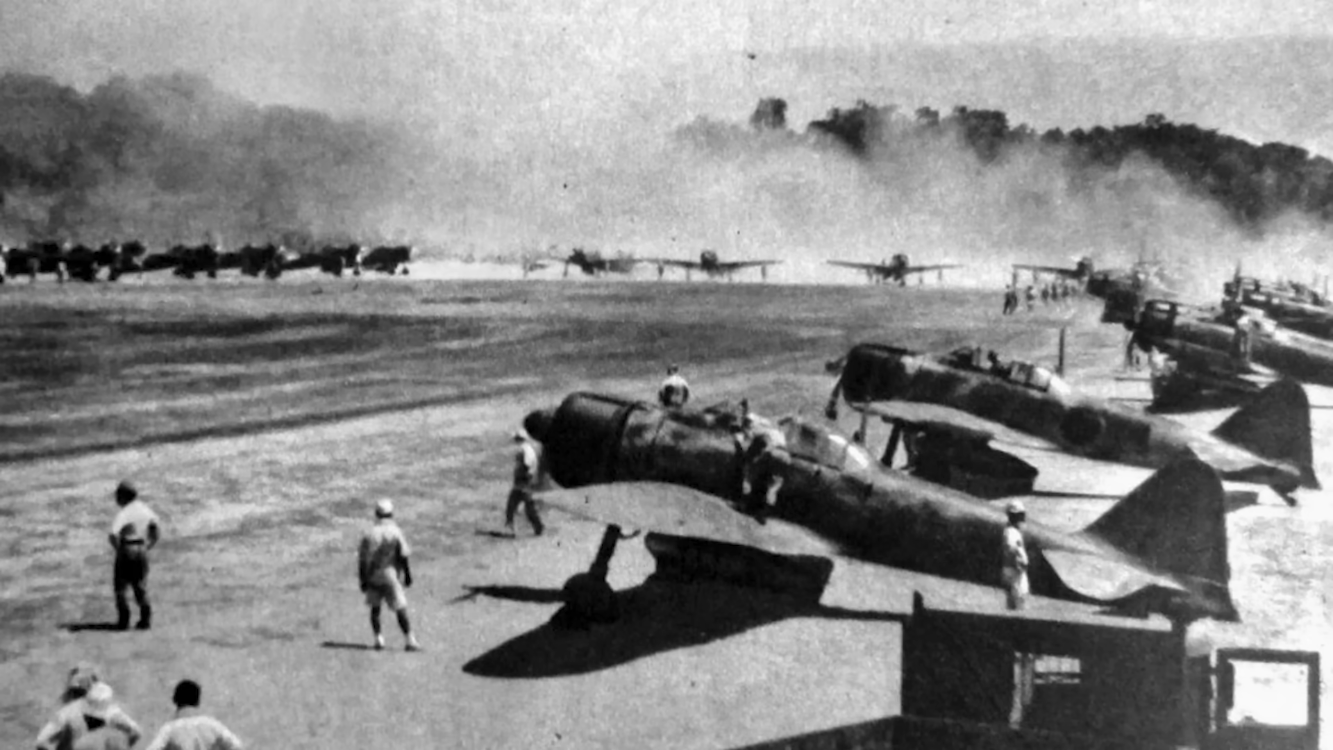
On March 2, 1943, the skies above Darwin, Australia, erupted into chaos. Twenty-one Japanese A6M2 Zeros, led by Lieutenant Commander Takahide Aioi, streaked low across the sea toward their target—only to be met by twenty-six Supermarine Spitfires of the Royal Australian Air Force. What followed was one of the most overlooked yet fascinating air duels of World War II: Britain’s best meeting Japan’s finest over the Pacific.
The Duel Over Darwin
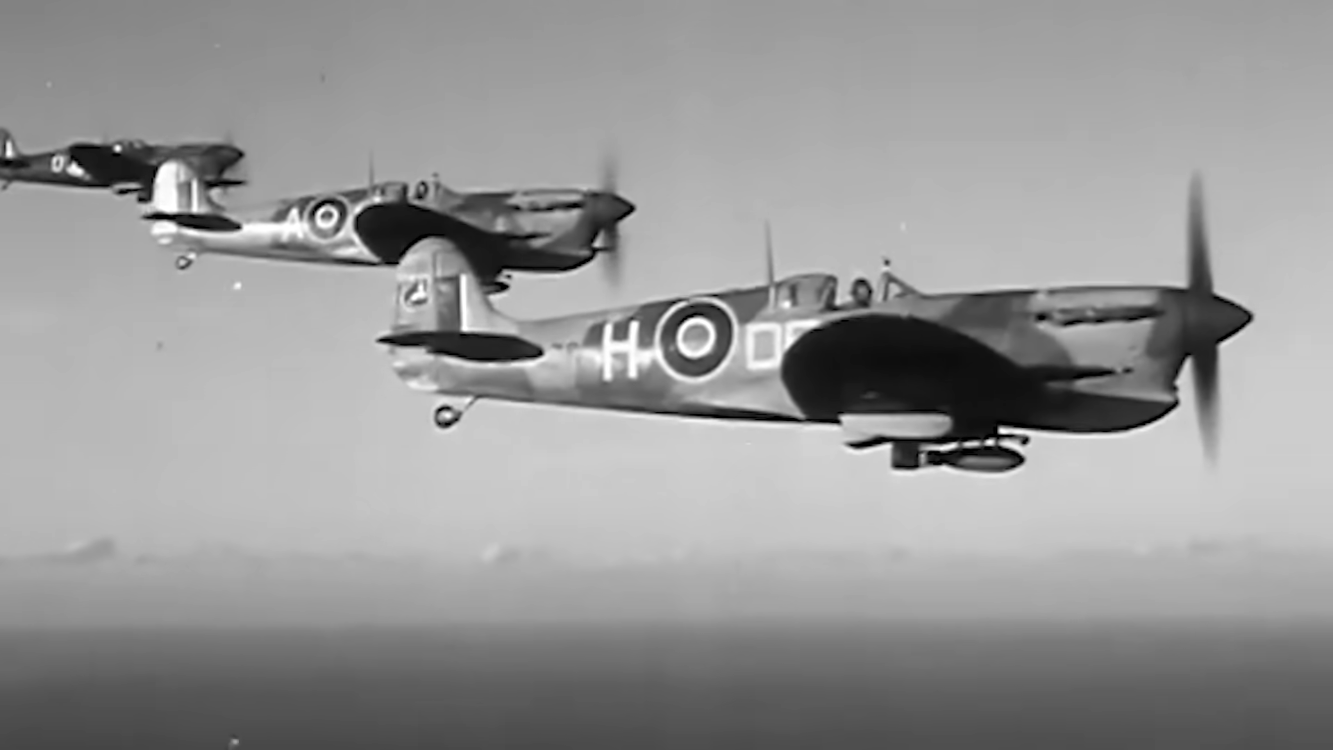
The battle over Darwin was the climax of months of tension. After Japan’s devastating air raids in 1942—striking Australia just weeks after Pearl Harbor—the Allies scrambled to defend the continent’s northern frontier. The Americans had fought valiantly in their P-40 Warhawks, but by late 1942, the Australians were equipped with something far superior: the legendary Spitfire Mk V.
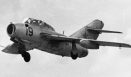
Their opponents, the Zero pilots of Japan’s elite 202nd Air Group, were among the most experienced aviators in the world, many boasting over a thousand hours of combat time. What resulted was a fierce contest between two machines built for entirely different kinds of war.
Two Icons, Two Philosophies
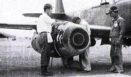
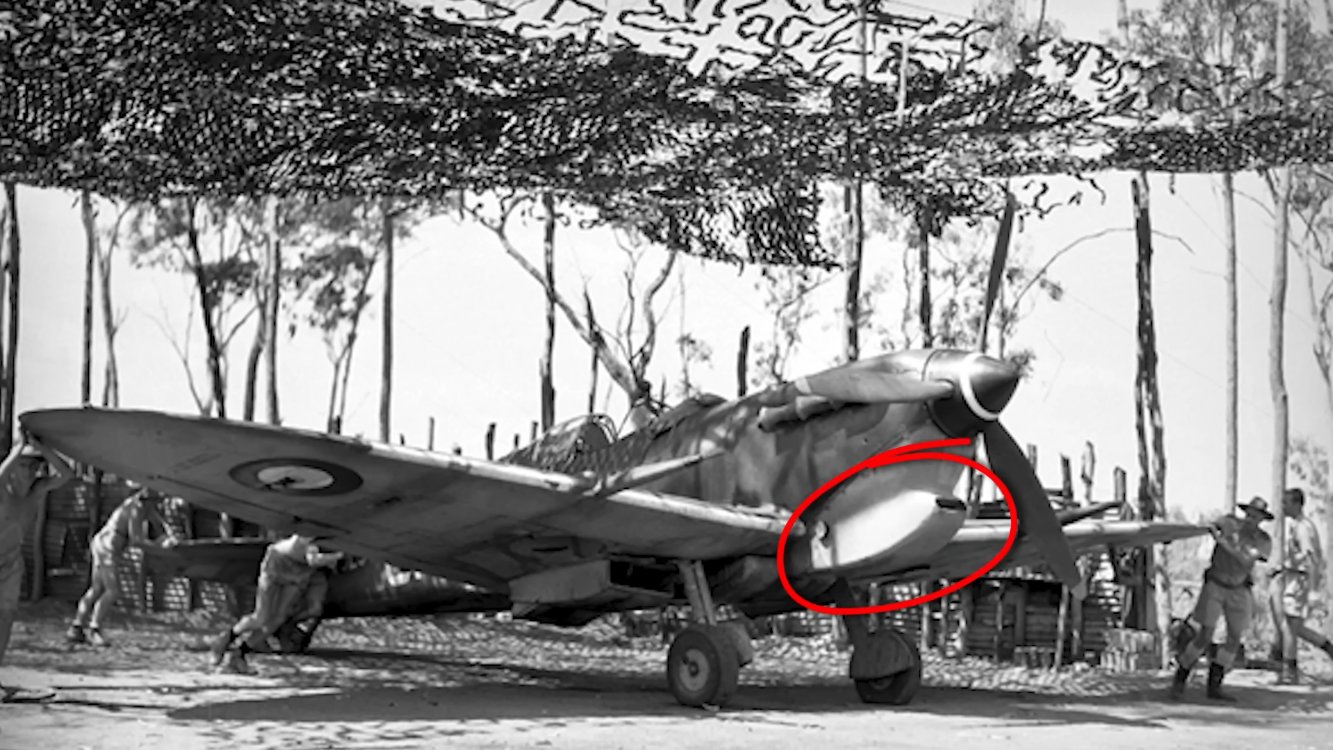
The Spitfire Mk V was the pinnacle of British fighter design—a high-speed, high-altitude interceptor powered by the 1,200-horsepower Merlin 46 engine. It could dive faster, climb efficiently, and hit hard with four .303 machine guns and two 20mm Hispano cannons. Armor plating and self-sealing fuel tanks made it more survivable in combat.
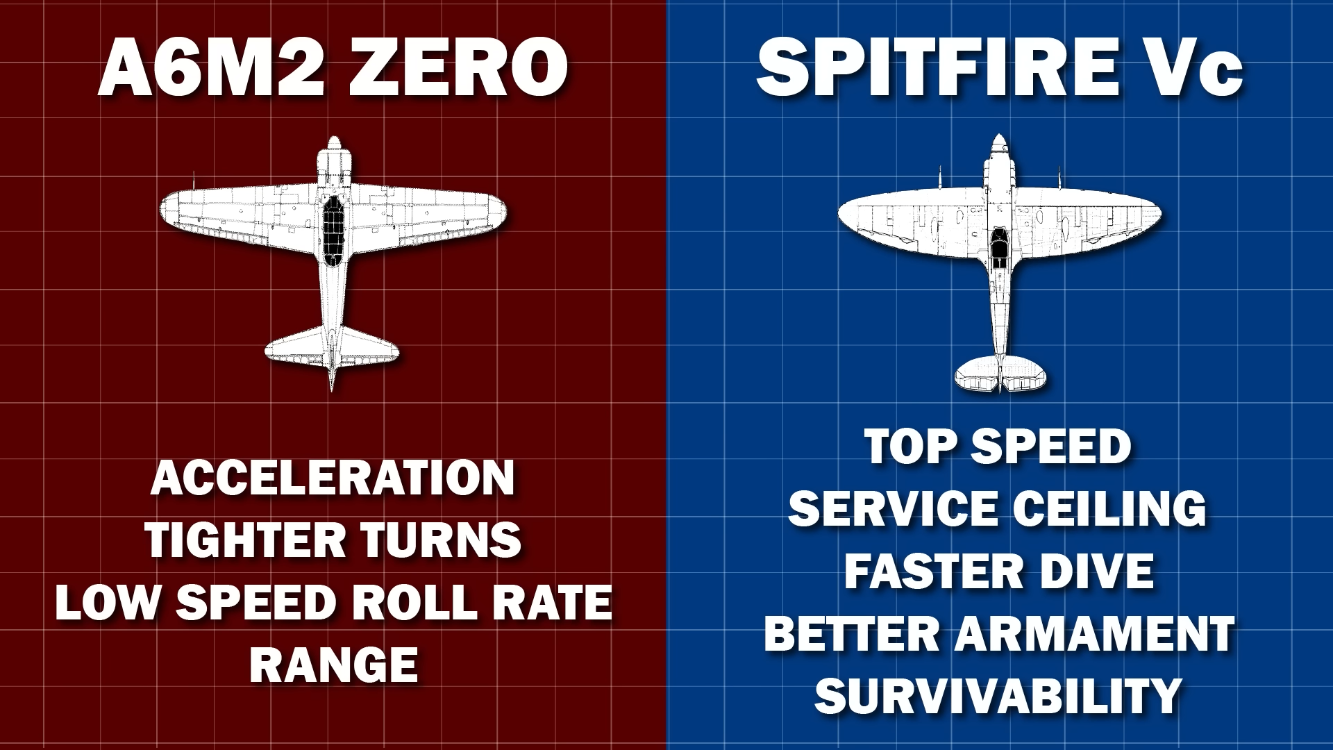
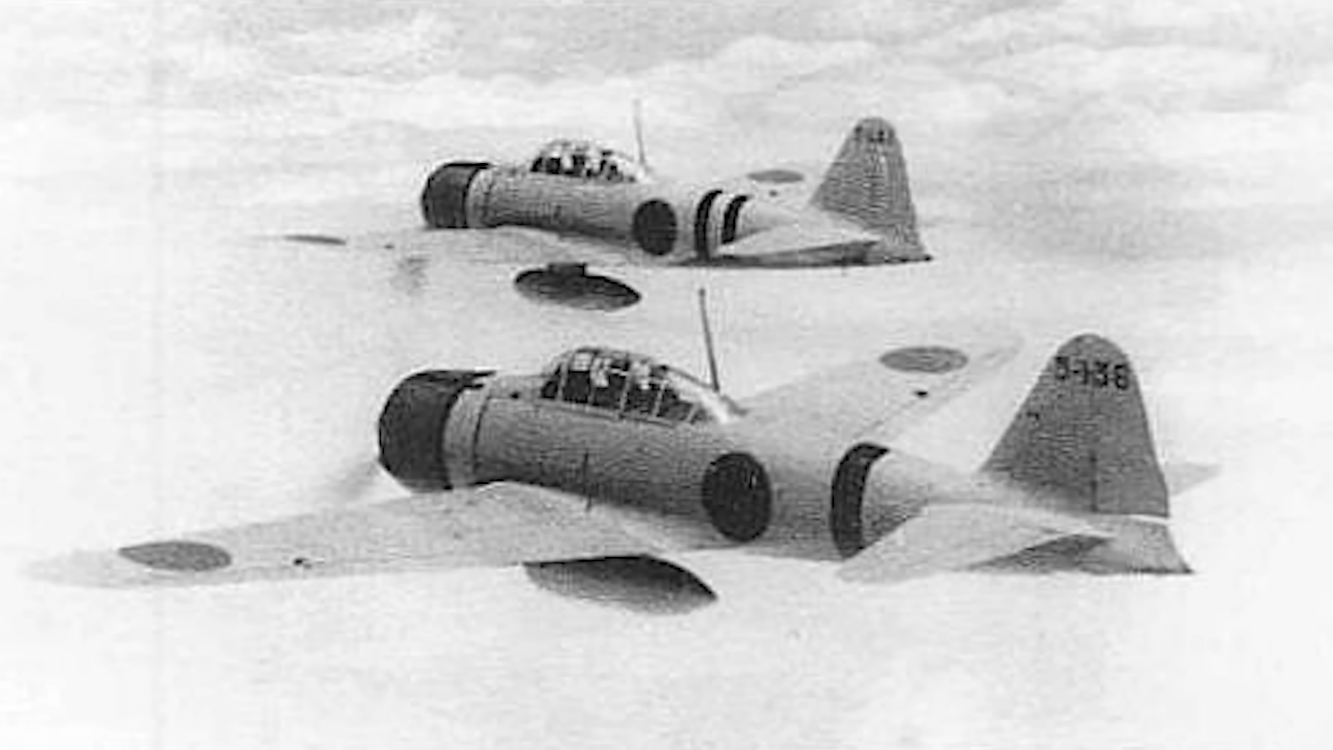
The Japanese Zero was the complete opposite. Built for range and agility, it sacrificed protection for performance. Its lightweight aluminum frame, vast wingspan, and twin 20mm cannons made it one of the most maneuverable aircraft ever built. But with no armor or self-sealing tanks, a single burst could turn it into a fireball.
Into Combat
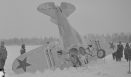
When the Spitfires finally clashed with the Zeros, the results were mixed. On paper, the Spitfire held the advantage—but Darwin’s brutal conditions and high-altitude defects often crippled it. Guns jammed, engines overheated, and fuel ran short long before the fight was done. Wing Commander Clive “Killer” Caldwell, leading the Australians, learned the hard way that tactics had to change. “The Spitfire was superior generally,” he said after one duel, “though less maneuverable at low speeds.”
The solution was clear: don’t turn with a Zero. Spitfire pilots began favoring high-speed dives and zoom climbs, striking fast and escaping before the nimble Japanese could react.
Verdict: A Draw of Legends
In the end, neither aircraft truly dominated. The Spitfire’s power and firepower met the Zero’s grace and endurance in an uneasy balance. The Australians held Darwin, but at a steep cost in aircraft and frustration. The battles proved that technology alone didn’t decide victory—it was tactics, discipline, and survival that truly mattered.
Both the Spitfire and the Zero remain icons of their nations’ ingenuity. And over the skies of Darwin, their clash marked one of the most extraordinary dogfights of World War II that few remember today.


