Why The Allied Bombers Suffered Losses at a High Rate During WWII
WWII US Bombers / YouTube
During World War II, the Allied bombing campaigns over German-occupied Europe faced significant challenges. While the bombers were crucial to the Allied strategy, their missions often came at a high cost. The loss rates among bombers were staggering, and understanding the reasons behind these losses provides insight into the complexities of aerial warfare during the war. The causes were not limited to direct enemy action; a combination of factors often contributed to a bomber’s fate. From flak fire and fighter attacks to mechanical failures and operational hazards, the risks were numerous and varied.
In 1943, bomber formations faced their heaviest losses. The U.S. Eighth Air Force, for instance, regularly sent large formations of B-17 Flying Fortresses and B-24 Liberators on daylight bombing missions. While the intent was to cripple German industry and infrastructure, the bombers were frequently intercepted by German defenses, including both fighter aircraft and anti-aircraft artillery. To understand why these losses were so severe, one must look at the sequence of events and the multiple threats that confronted the bombers.
Vulnerability of Bomber Formations
Allied bomber formations were designed to maximize mutual protection. Groups of aircraft flew in tight formations, with each bomber’s machine guns covering the others. These formations, often referred to as “combat wings,” consisted of dozens of bombers flying together at high altitudes. The formations aimed to fend off German fighter aircraft, which posed one of the greatest threats to the bombers. However, this tactic was not foolproof.
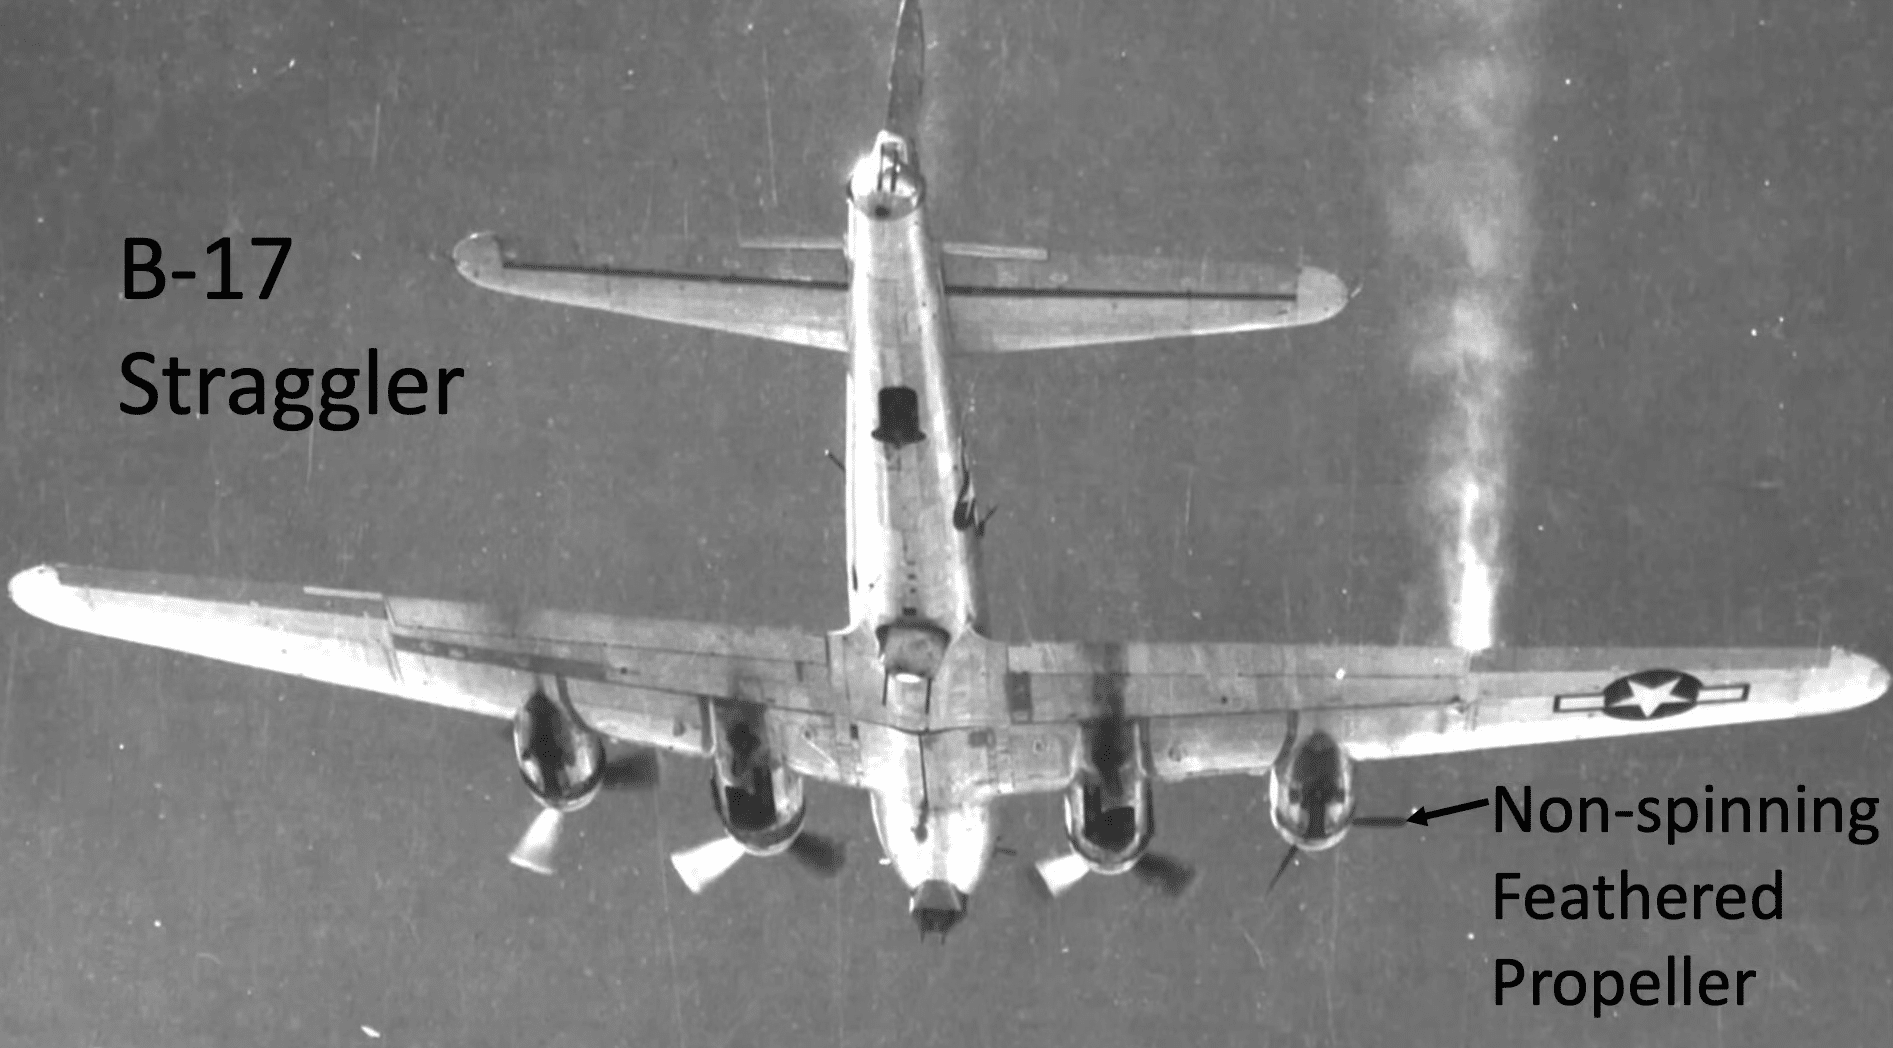
If a bomber was damaged and fell out of formation, it became a “straggler.” Stragglers were highly vulnerable to enemy fighters. Without the support of the formation’s defensive firepower, these isolated aircraft were easy targets. Reports from the period show that nearly 61% of bombers lost were stragglers. Of these, a large majority were ultimately destroyed by German fighters, while others were downed by flak or crashed due to mechanical issues.
The Role of Anti-Aircraft Artillery
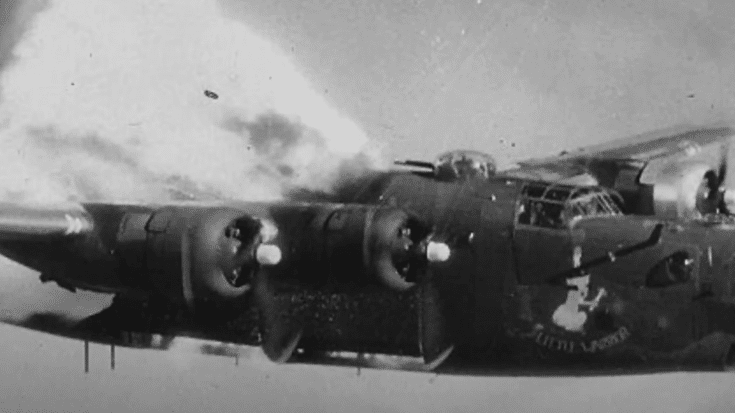
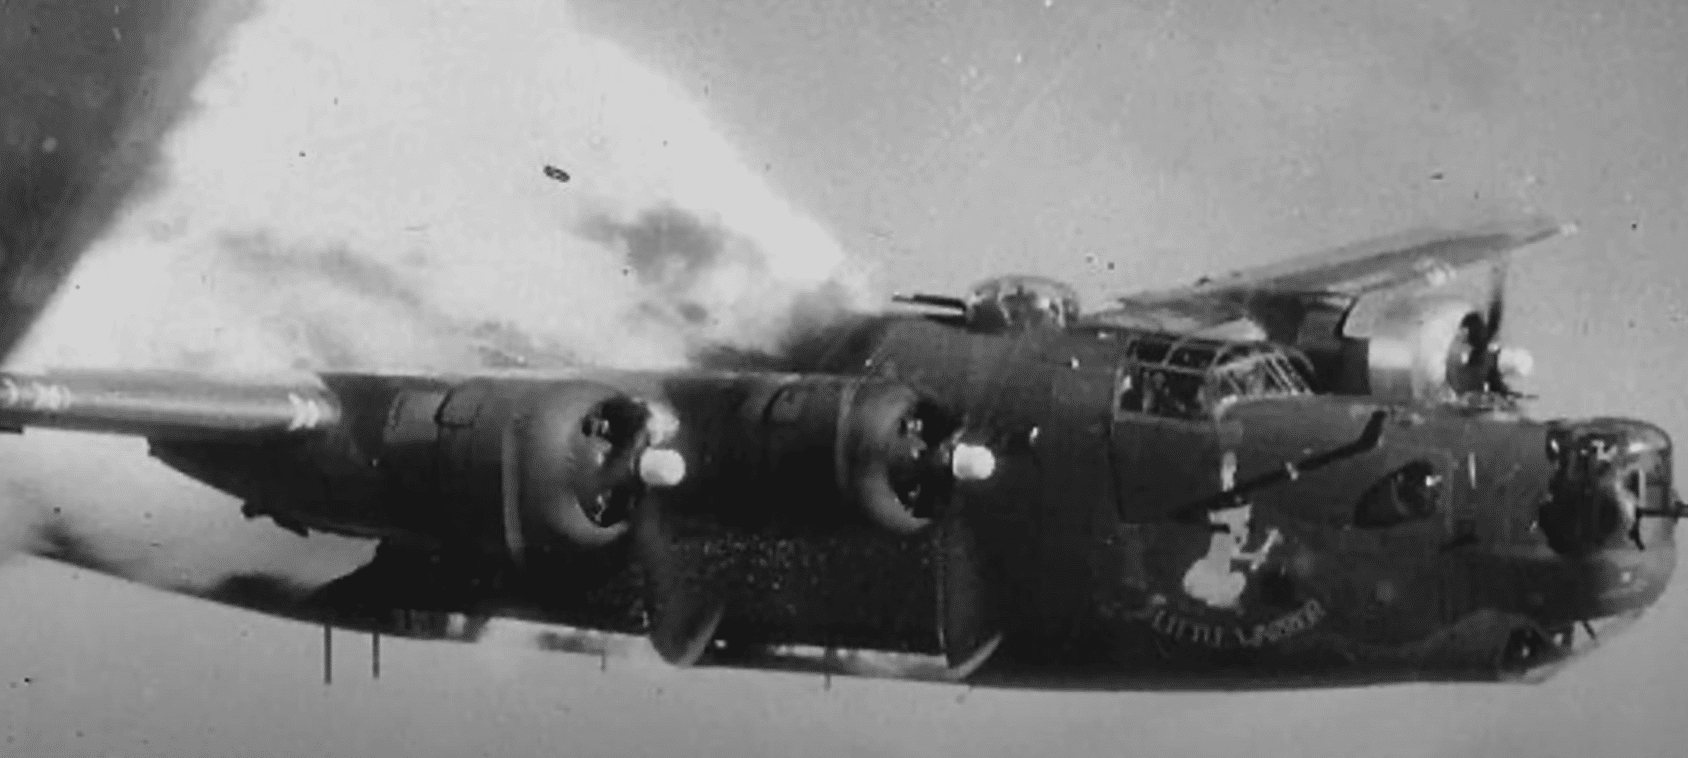
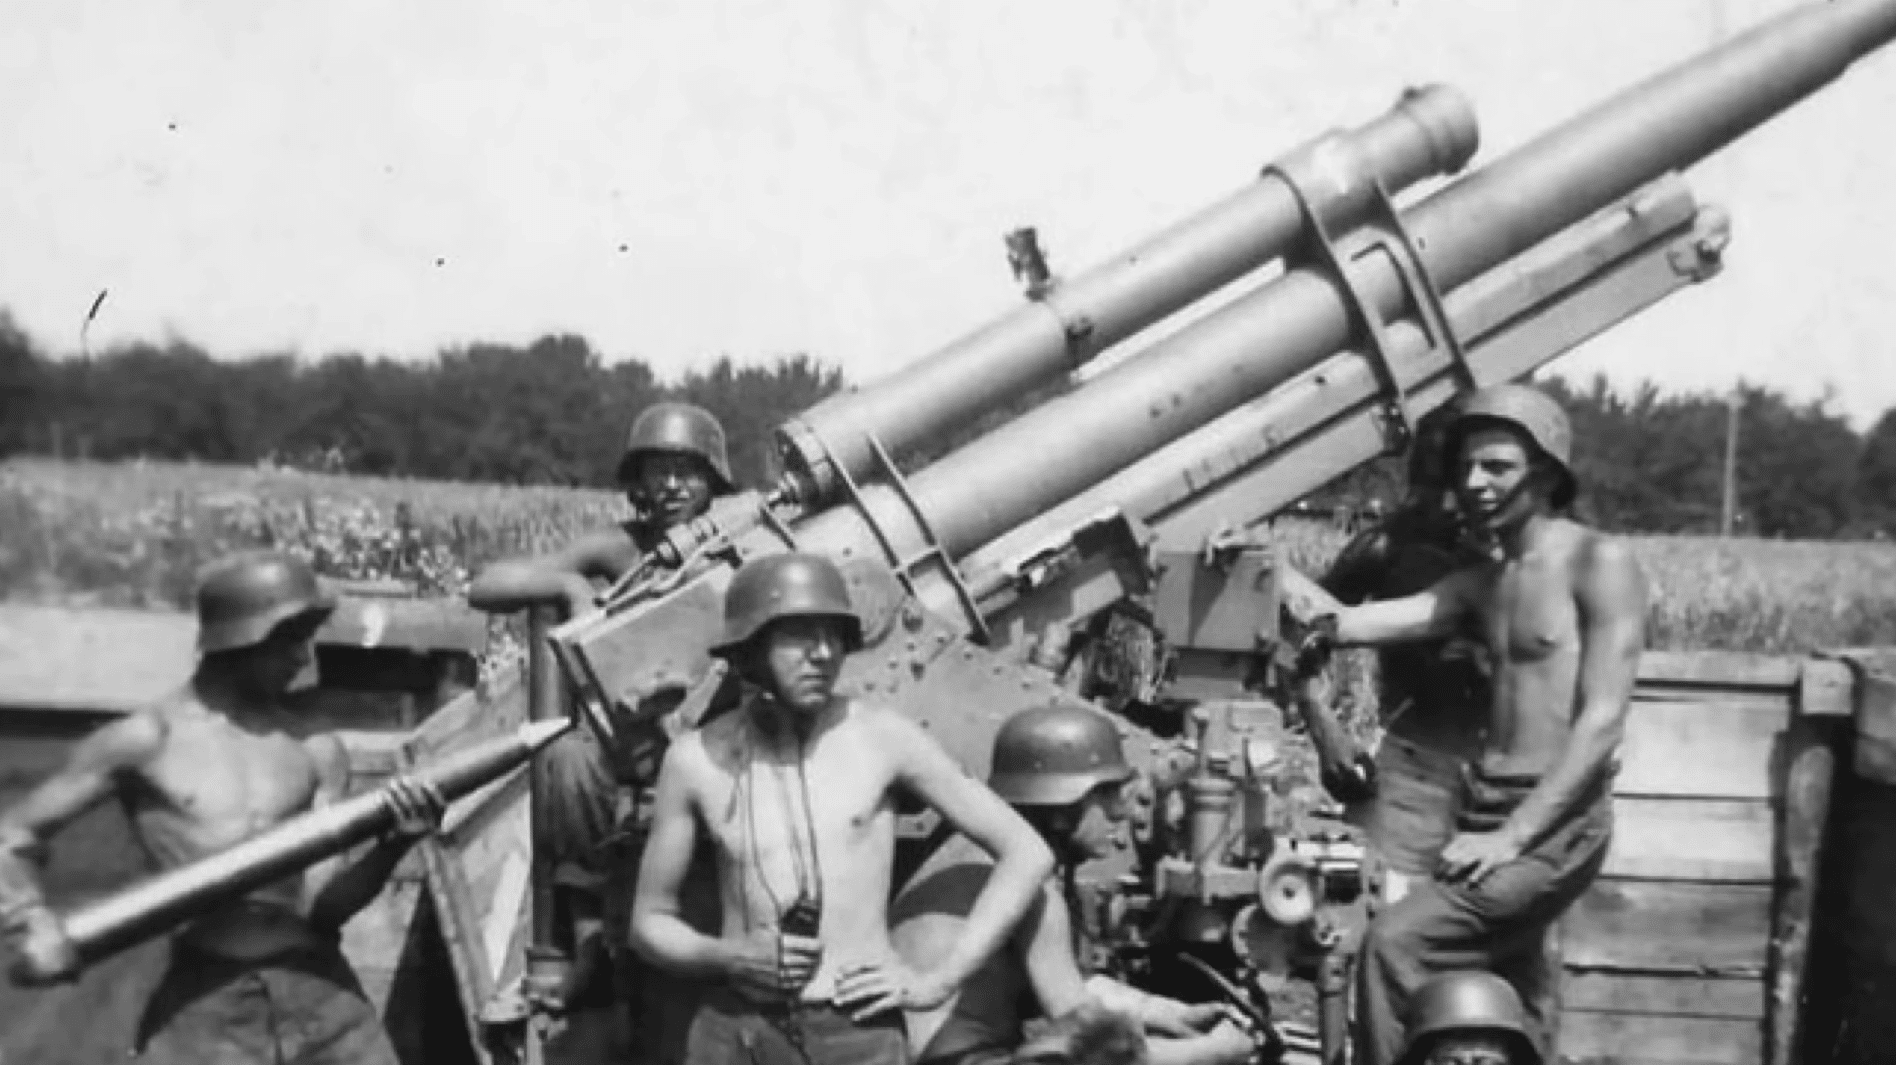
Anti-aircraft artillery, or “flak,” was another major contributor to Allied bomber losses. German flak batteries, armed with 88 mm guns, were highly effective. These weapons could reach the bombers flying at altitudes of 20,000 to 25,000 feet. Flak shells would detonate near the bombers, sending shrapnel through the air. If the fragments hit critical parts of the aircraft, such as the engines or fuel tanks, the bomber might be forced to leave formation or be destroyed outright.
Statistics from wartime reports reveal that flak was responsible for knocking out a significant number of bombers. In many cases, the damage caused by flak was severe enough to render an aircraft unable to continue its mission. However, the bomber might still be airworthy enough to limp back towards Allied territory. Unfortunately, these damaged aircraft were often intercepted by enemy fighters, leading to further losses.
Fighter Interceptions and Air Combat
German fighter aircraft were a constant threat to Allied bombers. Planes such as the Messerschmitt Bf 109 and Focke-Wulf Fw 190 were specifically tasked with targeting bomber formations. These fighters employed hit-and-run tactics, diving through formations to disrupt them and isolate stragglers. Once a bomber was separated from its group, it was far easier for the fighters to shoot it down.
To counter this threat, the Allies eventually introduced long-range fighter escorts, such as the P-51 Mustang. These escorts significantly reduced bomber losses, but they were not available during the early stages of the air war. Before the arrival of effective escorts, bomber crews relied solely on their own defensive armament, which often proved insufficient against determined enemy attacks.
Mechanical Failures and Operational Hazards
Mechanical failures and accidents also contributed to the high loss rates. Bombers were complex machines, and their engines and systems were prone to malfunctions, particularly under the strain of combat operations. Engine failures were a common problem. Reports from the time indicate that more than half of the bombers classified as “lost” had experienced engine trouble. In many cases, the loss of an engine forced the bomber to drop out of formation, where it became an easy target for enemy fighters.
Weather conditions and mid-air collisions added to the risks. Large formations of bombers flying in close proximity required precise coordination, and poor visibility or pilot error could lead to collisions. Takeoff and landing accidents were also frequent, particularly on icy or damaged airstrips. These non-combat losses were a reminder of the inherent dangers of operating heavy bombers in wartime conditions.
The Sequence of Events Leading to Losses
A typical bomber loss often involved a combination of factors. For example, a formation of bombers might encounter heavy flak as they approached their target. If a bomber was hit, it could lose an engine or suffer damage to its controls, forcing it to drop out of formation. As a straggler, it would then become the target of enemy fighters. Even if the crew managed to fend off the attackers, the damage might be too severe to allow the aircraft to return to base. Crews often had to bail out over enemy territory, with only a small percentage managing to evade capture and return to Allied lines.
Surviving such missions required a combination of skill, luck, and coordination. The introduction of long-range escorts, improved tactics, and better aircraft eventually reduced the loss rates, but the early years of the air war were marked by devastating casualties. These losses highlight the immense challenges faced by Allied aircrews and the high price paid to achieve air superiority during World War II.


